Foam Rolling for Recovery: Safe Techniques & 7-Day Plan
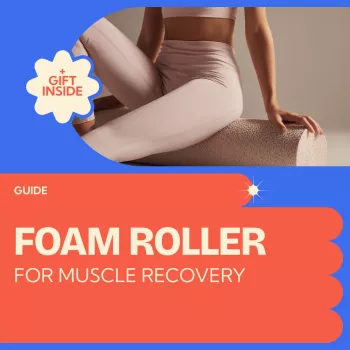
Foam Rolling for Muscle Recovery: Techniques, Smart Plans, and Faster Healing Strategies
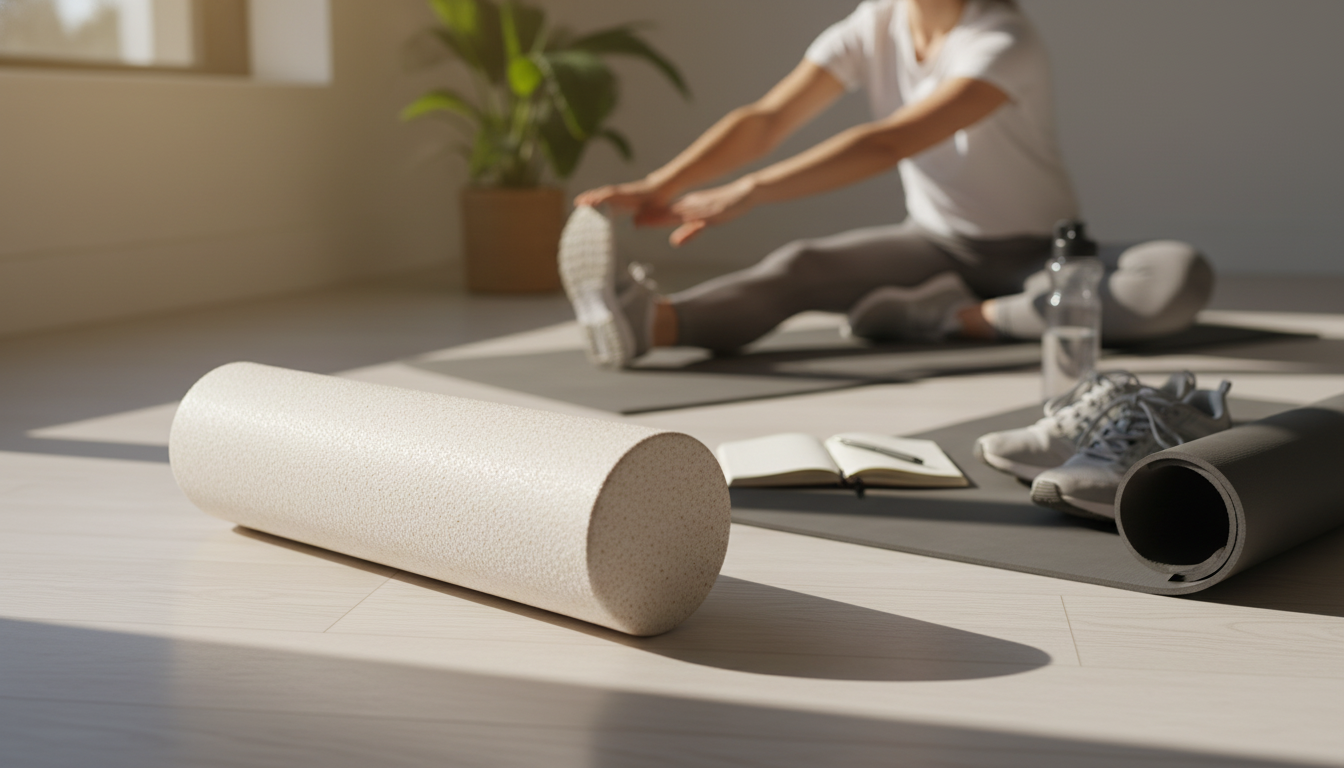
Foam rolling is a practical way to reduce post-workout stiffness, improve short-term range of motion, and support consistent training. The best results come from using the right roller, applying pressure safely, and following a simple plan that matches training load, soreness, and mobility needs.
What foam rolling does (and what it doesn’t)
Foam rolling helps manage muscle tenderness and that “tight” feeling after hard sessions by providing self-myofascial release and calming down sensitive tissue. Many people also notice a short-term boost in flexibility and joint range of motion—especially when rolling is followed by light movement.
- Helps reduce soreness perception and muscle tenderness after training.
- Often improves short-term flexibility and range of motion when paired with gentle movement afterward.
- Fits both warm-ups (brief, targeted rolling) and recovery days (slower, longer rolling).
- Does not “break up” scar tissue or permanently lengthen muscles in a single session; benefits are largely neurological and fluid-related.
- Works best alongside sleep, protein intake, hydration, and gradual training progression.
For a science-forward overview of recovery and flexibility basics, see the American College of Sports Medicine (ACSM). For research summaries on soreness and range of motion, PubMed is a useful hub.
Choosing the right foam roller: density, texture, and size
The “best” foam roller is the one that lets you relax and breathe while still applying enough pressure to feel a tolerable release. If you’re holding your breath or bracing hard, the roller is probably too firm (or you’re using too much bodyweight).
- Soft density: great for beginners, high soreness days, or bony areas where pressure control matters.
- Medium density: the most versatile daily option for most muscle groups.
- High density: best for experienced users who can stay relaxed under pressure.
- Smooth rollers: comfortable and easy to control; ideal for longer recovery sessions.
- Textured rollers: can feel more intense; useful for quick, targeted work—avoid aggressive “digging.”
- Size: 18–36 inches for general use; shorter rollers travel well but may feel less stable.
| Roller type | Best for | Watch-outs |
|---|---|---|
| Soft, smooth | Beginners, high soreness, calves/quads | May feel too mild for advanced users |
| Medium, smooth | Everyday recovery and warm-ups | None; most versatile |
| Firm, smooth | Experienced users, large muscle groups | Easy to overdo pressure and irritate tissue |
| Textured | Targeting small areas and quick warm-ups | Avoid aggressive digging; don’t roll directly on joints |
If you want a practical, all-in-one option with techniques and routines, consider Foam Roller for Muscle Recovery – Complete Guide to Foam Roller for Recovery, Techniques, AI Plans & Proven Strategies for Faster Healing.
Safety rules and common mistakes to avoid
Foam rolling should feel like “productive discomfort,” not sharp pain. A simple rule: if the sensation feels electric, numb, or shoots down an arm/leg, stop and reassess.
- Pain scale: stay around 3–6/10. Avoid sharp, stabbing, electric, or numbing sensations.
- Skip direct joint rolling: avoid knees/elbows, the low-back spine itself, and the front/side of the neck.
- Watch nerve-sensitive zones: tingling, burning, or radiating pain is a stop sign (often around the outer thigh area).
- Control pressure: use hands and feet to offload bodyweight; don’t “white-knuckle” through it.
- Time cap: more isn’t better—most sessions land in the 5–15 minute range.
- Red flags: recent injury, suspected tear, unexplained swelling, blood clot risk, severe varicose veins, or acute inflammation require medical guidance first.
For an accessible safety overview, the Cleveland Clinic is a solid reference point.
Core techniques: warm-up, recovery, and mobility combo
Use foam rolling differently depending on the goal. Pre-workout is short and targeted; recovery sessions are slower and paired with calm breathing.
Warm-up rolling (2–5 minutes)
- 20–30 seconds per muscle group, moderate pressure.
- Follow immediately with dynamic moves (leg swings, squats, lunges).
Recovery rolling (8–15 minutes)
- 45–90 seconds per area, slow passes, nasal breathing if possible.
- Pause 10–20 seconds on tender spots without holding your breath.
Mobility pairing (roll + move)
Roll a muscle group, then do a controlled stretch or active range drill for that joint. Examples: quads + couch stretch, calves + ankle rocks. Keep tempo slow enough to notice hot spots—about 1–2 inches per second.
| Goal | Total time | Per area | Best follow-up |
|---|---|---|---|
| Pre-workout readiness | 2–5 min | 20–30 sec | Dynamic warm-up |
| Post-workout decompression | 5–10 min | 30–60 sec | Easy walk + hydration |
| Rest day recovery | 10–15 min | 45–90 sec | Light mobility + breathing |
Step-by-step routines for common sore spots
Move slowly, adjust pressure with your hands/feet, and keep your breathing steady. If a spot feels tender, pause and let it settle rather than grinding back and forth.
Quads
Hamstrings
Glutes/hips
Calves
Upper back (thoracic)
AI-style recovery plan logic: simple inputs, better consistency
Sample 7-day foam rolling schedule (adjust to training load)
Putting it together: a simple recovery stack
If a lot of recovery happens at a desk, a supportive seating setup can reduce the “always tight” feeling between workouts. The Ergonomic Mesh Office Chair with Lumbar Support, Adjustable Headrest & 2D Arms can help you stay more comfortable during long work blocks so your mobility work actually holds.
FAQ
How long should foam rolling take for recovery?
Most people do well with 5–15 minutes total. Use 45–90 seconds per area on recovery days, and 20–30 seconds per area for warm-ups.
Is foam rolling good for DOMS soreness after workouts?
It can reduce soreness perception and improve short-term movement. Keep pressure moderate, go slow, and pair it with light activity and hydration.
Should the IT band be foam rolled?
Aggressive rolling on the IT band often feels worse. Better targets are the glutes, lateral hip muscles, and lateral quad, using tolerable pressure.


Leave a comment