Painting or Staining a 3D Wooden Racing Car Kit After Build
Can a 3D wooden racing car puzzle kit be painted or stained after assembly?
Yes—most 3D wooden racing car puzzle kits can be painted or stained after assembly, as long as the wood is unfinished or only lightly sealed. A finished model is often easier to customize because you can see the final fit, but it also means you’ll need to protect moving parts, joints, and any areas where tight tolerances matter. For a deeper walkthrough, visit the full guide here.
What to check before you start
First, confirm the kit’s surface condition. If the pieces feel raw and absorbent, paint or stain will bond well. If the model has a glossy or waxy feel, you may need light sanding to improve adhesion. Also check whether the car includes functional components (gears, wheels, axles, pull-back or rubber-band mechanisms). Those areas should stay as clean and dry as possible.
Painting after assembly: best practices
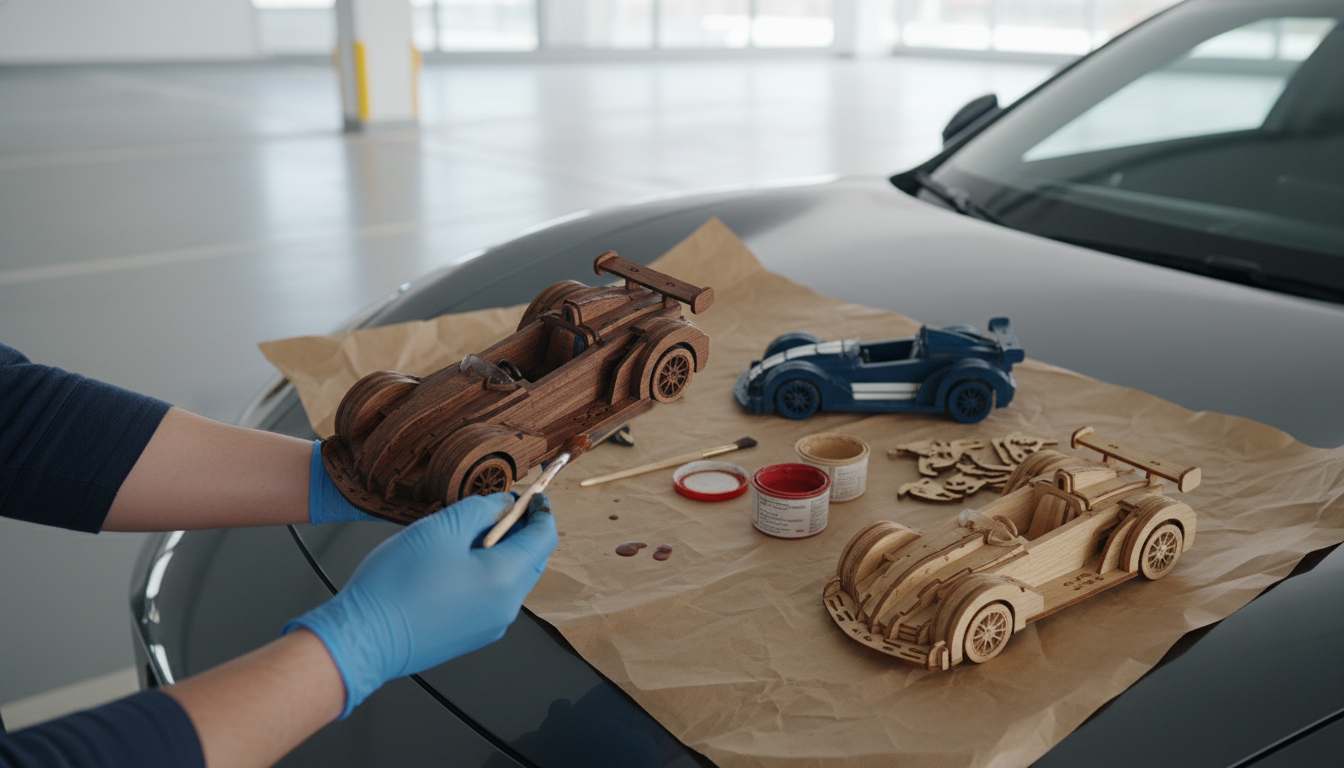
Painting works well for bold color schemes and racing details. Use thin coats to avoid filling engraved lines or gumming up wheel wells. Mask axles, gear teeth, and any friction-fit joints so the paint doesn’t change the fit. Acrylic craft paint is a common choice because it dries quickly and cleans up easily; just let each layer cure before handling.
Staining after assembly: what to know
Stain enhances the wood grain but can be less predictable on laser-cut plywood, where edges may absorb more and darken. Apply stain sparingly with a cloth or small brush, then wipe off excess to prevent blotches. If your model has moving parts, keep stain away from contact points—stain can leave residue that increases friction.
Sealing and protecting the finish
After painting or staining, a clear topcoat helps protect the surface from fingerprints and scuffs. Choose a finish that matches your look (matte, satin, or gloss) and apply light coats. Avoid heavy spraying near mechanical areas, and allow full curing time before rolling the car or displaying it in a sunny spot.
FAQ
What type of clear coat is best for a painted wooden model?
A water-based polyurethane or clear acrylic sealer is a solid choice because it dries clear and is easy to apply in thin coats. Pick matte, satin, or gloss based on the look you want, and let it cure fully before handling.


Leave a comment