Lumbar Support Board: Correct Placement & Adjustments

How to Use a Lumbar Support Board
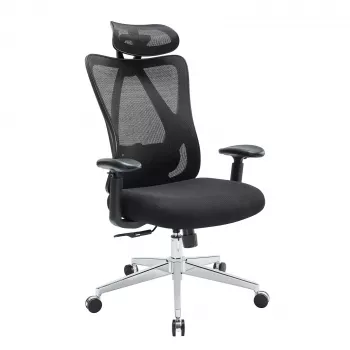
A lumbar support board is designed to fill the natural inward curve of the lower back so your spine stays aligned while you sit. Used correctly, it can reduce slouching, ease pressure on the low back, and make long desk sessions feel more stable and comfortable.
1) Choose the right placement on your chair
Sit all the way back so your hips are against the backrest. Position the lumbar support board at the small of your back (generally around belt-line height). The goal is contact: the board should gently meet your lower back without forcing an exaggerated arch.
2) Adjust the height before tightening anything
If your board straps to the chair, keep the straps loose at first. Slide the board up or down until it supports the curve just above your pelvis. A good sign you’ve found the right spot: your ribs stay stacked over your hips without you “holding” posture with your muscles.
3) Set the depth for “support,” not “push”
If the board has thickness options or an adjustable curve, start with the mildest setting. You should feel evenly supported, not poked. Too much depth can tip your pelvis forward and create tension in the mid-back or hip flexors.
4) Re-check your full seated posture
With the board in place, keep feet flat, knees roughly level with hips, and shoulders relaxed. Your back should rest on the chair instead of hovering. If your head drifts forward, consider pairing lumbar support with better head/neck alignment and overall chair ergonomics.
5) Fine-tune after 10–15 minutes
Your body often notices problems after you’ve been seated for a bit. If you feel pressure points, numbness, or increased tightness, lower the board slightly or reduce its depth. Small changes—often less than an inch—make a big difference.
For a broader setup that pairs lumbar positioning with backrest, headrest, and arm support adjustments, see the detailed guide here: https://anenos.com/guide-mesh-ergonomic-office-chair-lumbar-headrest-2d-arms/.
FAQ
Where should lumbar support sit on your back?
It should sit at the natural inward curve of your lower back, typically around belt-line height. If it’s too high, it supports mid-back; too low, it can push on the pelvis instead of the lumbar curve.


Leave a comment