First-Time Setup: Connect a WiFi Photo Frame to Home WiFi
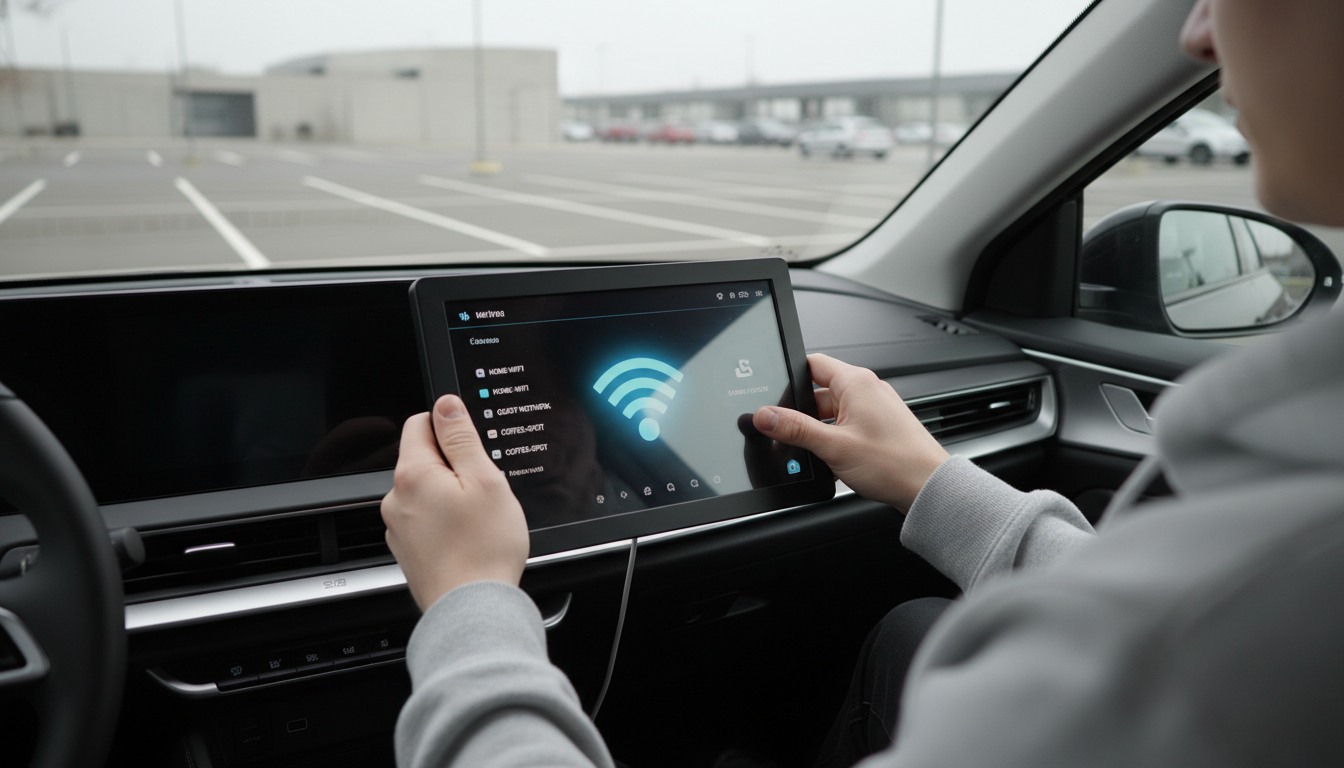
How do you set up a WiFi digital photo frame for the first time and connect it to your home network?
Most WiFi digital photo frames follow the same first-time flow: power on, choose your language and time zone, connect to your home WiFi, then link the frame to an app or sharing account so you can send photos. A few minutes of setup up front makes everyday use as simple as sharing to a private album.
Step-by-step first-time setup
1) Unbox and power up. Plug the frame into a wall outlet (not a power strip if you can avoid it) and press the power button. Let it boot fully before tapping through the welcome screens.
2) Complete the basic on-screen settings. Select language, region, time zone, and confirm the date/time. If the frame asks to set screen brightness or sleep hours, choose a moderate brightness and set a nightly “off” window to reduce burn-in and save power.
3) Connect to your home WiFi. Open Settings (or Network) and choose your WiFi name (SSID). Enter your WiFi password carefully—watch for uppercase/lowercase and similar-looking characters. For best results, connect to a 2.4 GHz network if your router offers both 2.4 GHz and 5 GHz; many frames are more reliable on 2.4 GHz.
4) Update firmware if prompted. If an update is available, install it while the frame is connected. This often improves stability, app pairing, and photo syncing.
5) Pair the frame with the companion app/service. Many frames display a QR code or pairing code. Install the recommended mobile app, sign in, then scan/enter the code to link the frame. Assign a friendly name (like “Kitchen Frame”) so it’s easy to find later.
6) Send a test photo and confirm display settings. Share one or two images to verify delivery. Then adjust slideshow speed, transition style, cropping/fit mode, and rotation (portrait/landscape) so photos appear the way you expect.
Troubleshooting quick fixes
If the frame won’t connect, restart the frame and router, move the frame closer to the router, and re-enter the password. If your WiFi uses special characters or WPA3-only security, try enabling WPA2 compatibility on the router or use a guest network with WPA2.
For additional details and model-specific tips, visit the complete setup guide here.
FAQ
Why is my WiFi digital photo frame not receiving photos even though it’s connected?
Check that the frame is still linked to the correct account/app and that the sender used the right frame or album. Also verify the frame has internet access (not just WiFi) and install any pending firmware updates.









Leave a comment