Wooden Model Kit Piece Won’t Fit? Fix It Safely
What should you do if a piece doesn’t fit during assembly of a wooden model kit?
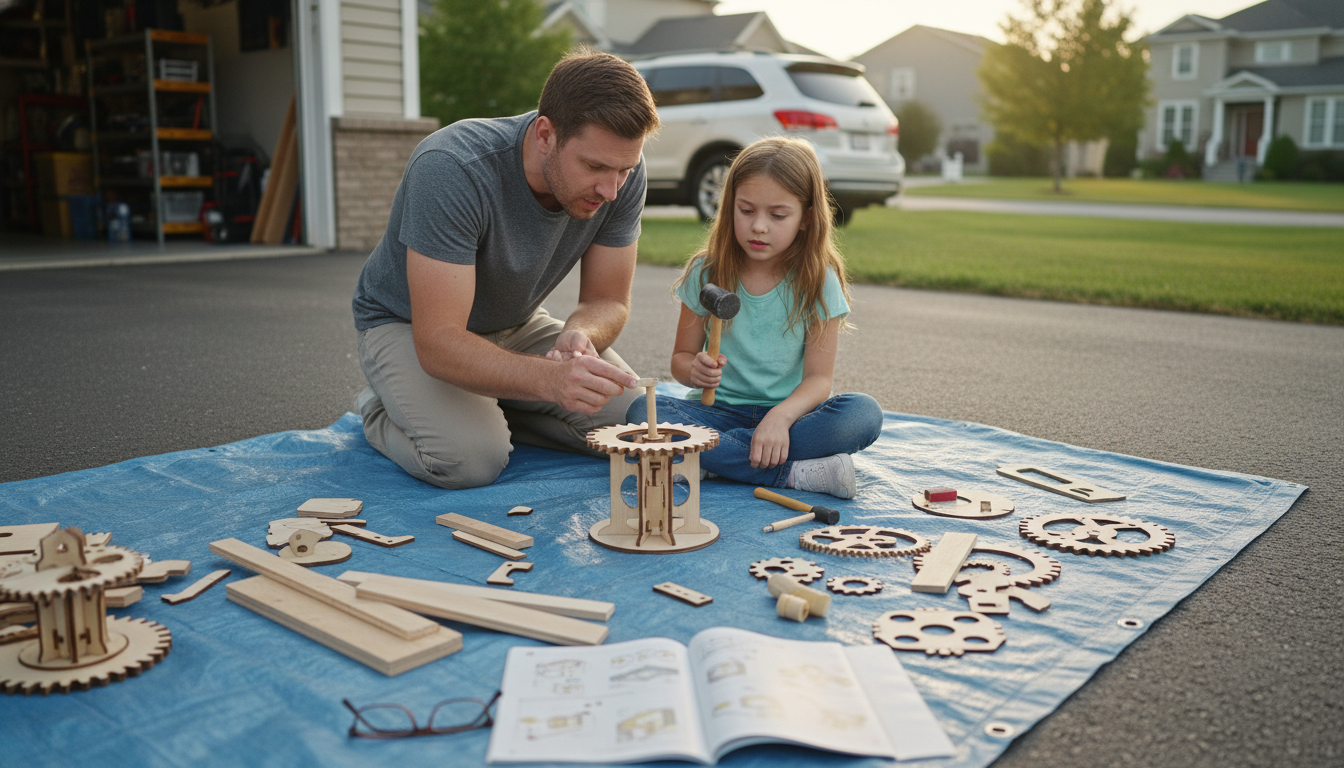
If a wooden model kit part won’t fit, pause and troubleshoot before forcing it. Most fit issues come from orientation mistakes, leftover tabs, slight swelling from humidity, or a tight tolerance that needs gentle cleanup. Working slowly helps prevent snapped tabs, split plywood layers, and misalignment that can ripple through the rest of the build.
How to fix a wooden model kit piece that won’t fit
1) Confirm you’re using the correct part and direction
Double-check the part number, the slot it’s meant for, and which side faces outward. Many pieces are symmetric at a glance but differ by tiny notches or engraving. Dry-fit without glue first so you can test alignment safely.
2) Inspect the slot and edges for leftover wood fibers
Laser-cut sheets can leave small “nubs” or charred edges that snag. Run a fingernail along the tabs and inside the receiving slot to feel for rough spots. If needed, trim fuzz with a sharp hobby knife and lightly smooth with fine-grit sandpaper.
3) Reduce tightness gradually—never force it
If the tab is just slightly too snug, remove a minimal amount of material from the tab edges rather than widening the slot aggressively. Sand a few strokes, test-fit, and repeat. This keeps the joint strong and avoids a sloppy fit later.
4) Check for warping or humidity swelling
Thin plywood can swell in humid rooms. If parts feel uniformly tight, let the sheets acclimate in a drier space for a few hours. For mild warp, gently flex the piece back toward flat before assembly, taking care not to crease layers.
5) Realign nearby assemblies
Sometimes the “wrong” piece isn’t the problem—an earlier section may be slightly off. Loosen the surrounding joints (especially if no glue was used yet), reseat them square, and try again. A small angle error can make the next piece seem impossible.
6) Use safe help: wax, clamps, and patience
A tiny swipe of beeswax or candle wax on a tight tab can help it slide without damage. If pressure is needed, apply it evenly with fingertips or a soft clamp pad—never crush delicate details.
For more detailed guidance and common fit fixes, visit the main article.
FAQ
Can you use glue to force a tight-fitting wooden model kit joint?
Avoid using glue to “force” a joint closed; it can lock misalignment in place and increase the risk of cracking. Get a clean dry-fit first, then apply a small amount of glue only after the parts seat properly.


Leave a comment