Ceramic Electric Skillet: Nonstick + Adjustable Heat
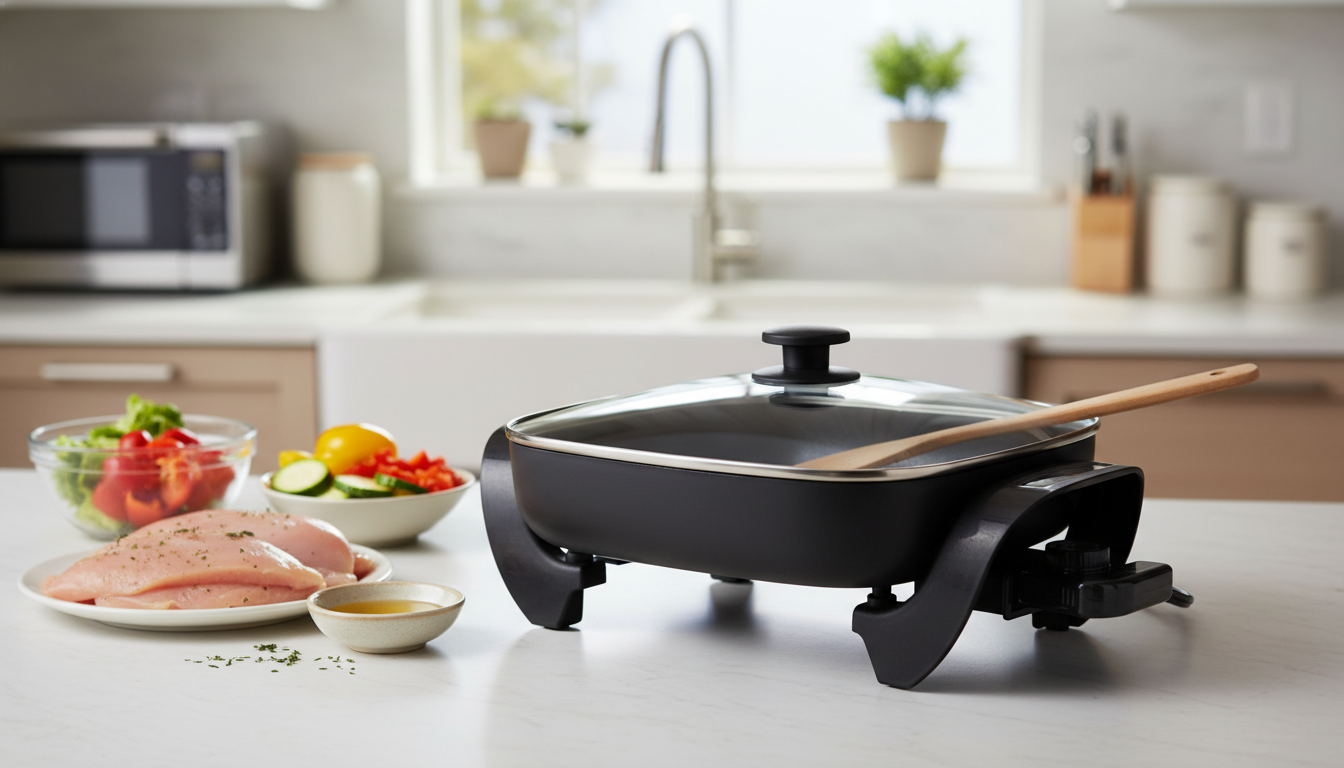
Ceramic Nonstick Electric Skillet with Adjustable Temperature Control
A ceramic nonstick electric skillet makes it easier to sauté, sear, simmer, and serve in one pan—without hovering over the stove. Adjustable temperature control helps dial in steady heat for everything from eggs to one-pan dinners, while the ceramic coating supports easier release and cleanup.
What makes an electric skillet worth using
- Countertop cooking that frees up burners and adds capacity for family-style meals
- More consistent heat across a wide surface than many small pans on a stovetop
- Useful for small kitchens, dorms, RVs, and buffet-style serving
- Can move from cooking to serving with fewer dishes to wash
Ceramic nonstick basics
- Ceramic nonstick coatings are designed for smoother release and simpler cleanup with less oil
- Best performance typically comes from using non-metal utensils and avoiding abrasive scrubbers
- Hand-washing and gentle sponges help preserve the coating over time
- Avoid overheating an empty pan; preheat briefly and add oil or food soon after warming
If the skillet is used daily, a simple routine helps: brief preheat, a thin film of oil or butter for browning, and a gentle wash once cooled. That combination keeps the surface performing well without relying on heavy grease or aggressive scrubbing.
Adjustable temperature control: how it changes cooking results
- Lower settings help prevent scorching for eggs, pancakes, and delicate sauces
- Medium heat is ideal for sautéing vegetables, browning ground meat, and stir-fry-style cooking
- Higher heat supports quick searing and reducing liquids more efficiently
- Steady temperature reduces hot/cold swings that can cause sticking or uneven browning
- Practical targets: warm/hold for serving, gentle simmer for soups, and hotter zones for searing (actual dial markings vary by model)
Compared with stovetop pans that can run hot in the center and cooler at the edges, an electric skillet’s wide, evenly heated base can make browning and simmering more predictable—especially for one-pan meals where timing matters.
Quick guide to common dishes and heat ranges
- Use a small amount of oil or butter for best browning even with nonstick
- Let proteins release naturally before flipping; forcing can tear food and damage the coating
- If a recipe calls for “medium-high,” approach gradually and adjust based on sizzle and smoke
- For saucy dishes, aim for a steady simmer rather than a rolling boil to reduce splatter
Cooking tasks, suggested heat approach, and tips
| Dish or task | Heat approach | Practical tip |
|---|---|---|
| Eggs, omelets | Low to medium-low | Preheat briefly, add a thin layer of fat, and use silicone tools |
| Pancakes, French toast | Medium | Test with a small drop of batter; adjust to avoid pale centers |
| Sautéed vegetables | Medium to medium-high | Keep pieces uniform; don’t overcrowd to prevent steaming |
| Ground meat, fajita filling | Medium-high | Break up early, then let it brown undisturbed for better flavor |
| Chicken cutlets, pork chops | Medium-high to high (as needed) | Pat dry, sear, then reduce heat to finish without burning the exterior |
| Sauces, chili, stew | Low to medium | Hold a gentle simmer; stir occasionally to protect the coating |
| Warm/serve at the table | Low / warm setting | Cover loosely to retain heat and reduce drying |
Everyday use and care for longer coating life
- Seasoning (optional): wipe a tiny amount of oil over the surface and warm briefly, then cool and wipe clean
- Use wood, silicone, or nylon utensils; avoid metal edges that can scratch
- Avoid aerosol cooking sprays that can leave sticky buildup; use oil or butter instead
- Let the skillet cool before washing to reduce thermal shock and warping
- Remove stubborn residue by soaking with warm water and mild soap rather than scraping
- Store carefully; if stacking, place a soft cloth or paper towel between surfaces
When food starts to cling more than it used to, it’s often a residue problem rather than “nonstick wearing off overnight.” A warm soak and a mild wipe-down can remove buildup that blocks the coating’s smooth release.
Safety, surfaces, and placement
- Place on a stable, heat-resistant counter with clearance around vents and cords
- Keep the cord away from edges and water sources to reduce trip and splash risks
- Use potholders for handles and lid knobs if they warm during extended cooking
- Follow safe minimum internal temperatures for meats and poultry, using a food thermometer
- Unplug when not in use and before cleaning; keep the temperature control connector dry
For quick reference on safe cooking endpoints, the USDA’s minimum internal temperature chart is a reliable standard: USDA Food Safety and Inspection Service — Safe Minimum Internal Temperature Chart. For general kitchen safety practices (burn prevention, appliance use, and countertop hazards), see: U.S. Consumer Product Safety Commission — Kitchen safety.
When this skillet is the right pick
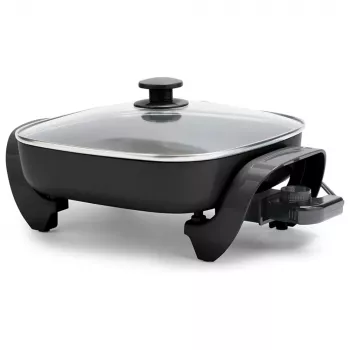
Product spotlight: Ceramic Nonstick Electric Skillet with Adjustable Temperature Control
Ceramic Nonstick Electric Skillet with Adjustable Temperature Control
More in-stock picks
- Ergonomic Mesh Office Chair with Lumbar Support, Adjustable Headrest & 2D Arms
- Wooden Multiplication Board for Kids
FAQ
Can metal utensils be used on a ceramic nonstick electric skillet?
It’s best to avoid metal utensils because edges can scratch the ceramic surface. Silicone, nylon, or wood tools are gentler and help the coating last longer.
What temperature should the skillet be set to for cooking chicken safely?
Dial markings vary by model, so use the setting that maintains a steady cook without burning the outside. For safety, cook chicken to an internal temperature of 165°F (74°C) measured with a food thermometer.
How can sticking be reduced on ceramic nonstick surfaces over time?
Preheat briefly, use a small amount of oil or butter, and avoid overheating an empty skillet. Skip aerosol cooking sprays that can create residue, and clean with non-abrasive sponges so the surface stays smooth.









Leave a comment