Indoor Searing Grill with Window & Temp Control Guide
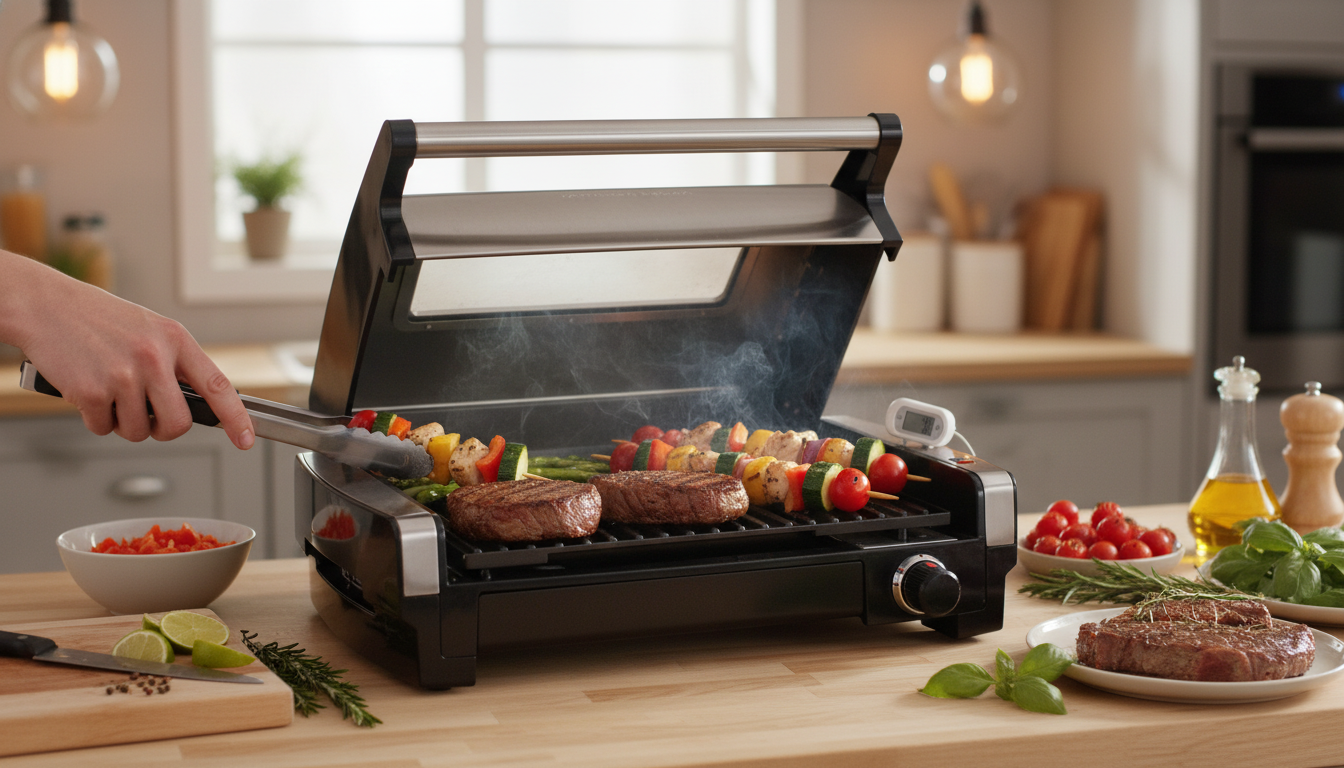
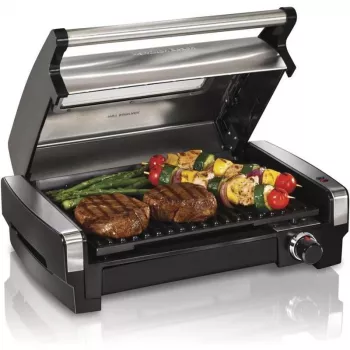
Electric Indoor Searing Grill with Viewing Window & Adjustable Temperature Control
An indoor searing grill brings high-heat browning to your kitchen without stepping outside. Add a viewing window and adjustable temperature control, and it becomes much easier to stay on top of timing, color, and doneness—especially when cooking steaks, burgers, chops, chicken, and vegetables. If outdoor grilling isn’t practical (or just isn’t appealing on a busy weeknight), an electric indoor searing grill is a straightforward way to get grill-style results with less guesswork.
What Makes an Indoor Searing Grill Different
Unlike typical contact grills that focus on pressing food between two plates, an indoor searing grill is designed to concentrate heat close to the food for deeper browning and faster cook times. That intensity matters most for proteins that benefit from a crust—think steaks, burgers, pork chops, and sausages.
Because it’s electric, it’s also a practical option for apartments, condos, and colder months when outdoor grilling isn’t realistic. And with a viewing window built into the lid, you can check progress without constantly lifting the top—helping the grill retain heat and recover faster between checks.
Key Features That Matter Day to Day
Two features tend to shape the everyday experience the most: visibility and control. A viewing window lets you monitor sear development, bubbling marinades, and cheese melt without opening the lid repeatedly. Adjustable temperature control helps match heat to the food—lower for chicken and vegetables, higher for burgers and steaks.
A covered cooking style can also help limit splatter compared with open-top options, while keeping heat more consistent around the food. Combined with a countertop-friendly footprint, this style of grill aims to deliver “grilled” results in a standard kitchen setup.
At-a-glance: Practical benefits
| Feature | Why it helps | Best for |
|---|---|---|
| Viewing window | Check progress without losing heat | Steaks, burgers, thick chops |
| Adjustable temperature control | Dial in heat for different foods | Chicken, fish, vegetables |
| Lidded design | Helps contain splatter and retain heat | Indoor cooking, high-heat searing |
| Electric heating | No charcoal/propane; consistent power | Weeknight meals, apartments |
Cooking Performance: Sear, Doneness, and Consistency
For steakhouse-style browning, the single biggest factor is preheating. A fully heated grill surface drives moisture off quickly so food browns instead of steaming. If the grill isn’t hot yet, even great cuts can come out pale and wet on the outside.
Thicker cuts usually cook best with a two-stage approach: start high to build color, then reduce heat to finish evenly. This helps prevent an over-dark exterior while the center is still catching up. The viewing window becomes especially helpful here—watch for edge browning and surface moisture so you can adjust before things move too far in one direction.
Spacing also matters. Avoid crowding; leaving room improves airflow and helps moisture evaporate, which supports better crust formation. If you’re cooking multiple portions, it’s often better to work in batches than to pack the surface and sacrifice the sear.
How to Use It for Reliable Results
1) Preheat with purpose
Give the grill enough time to reach the temperature you actually want before adding food. Rushing this step is the easiest way to end up with a weak sear and longer cook time.
2) Oil smart to reduce smoke
Lightly oil the food (not the grill) so you use less oil overall. This can reduce smoke, helps prevent sticking, and supports even browning—especially with lean proteins and vegetables.
3) Sear first, then stabilize
For thicker steaks or chops, start on a higher setting to build crust, then lower the temperature to finish. This gives you better control over the final doneness and reduces the risk of burning sugary rubs or marinades.
4) Rest meat for better juiciness
A short rest after cooking helps juices redistribute and lets internal temperature stabilize. Even a few minutes can noticeably improve texture in steaks, burgers, and pork chops.
5) Verify doneness with an instant-read thermometer
Color is useful, but temperature is reliable. For food safety guidance—especially for poultry—follow the USDA’s safe minimum internal temperatures (USDA temperature chart). If you want additional reference context used by many commercial kitchens, the FDA Food Code is also a helpful baseline.
What It’s Great For (and Where It’s Not the Best Fit)
It’s not ideal for very large batch cooking or oversized cuts that need a wide, expansive surface. And if you’re sensitive to cooking odors, plan on ventilation—high-heat searing can create smoke depending on oil choice, marinades, and fat content. For a balanced overview of grilling methods and best practices, Harvard’s nutrition guidance is a useful reference (Harvard T.H. Chan: Grilling and Health).
Cleaning and Maintenance Habits That Keep It Working Well
Safety and Indoor Setup Tips
Product Snapshot and Buying Notes
- Electric Indoor Searing Grill with Viewing Window & Adjustable Temperature Control — $103.47
- Ergonomic Mesh Office Chair with Lumbar Support, Adjustable Headrest & 2D Arms — $119.01
FAQ
Does the viewing window reduce the need to open the lid while cooking?
Yes—because you can watch browning and bubbling without lifting the lid as often, the grill holds heat more consistently. You’ll still open it occasionally for flipping or to check internal temperature, but typically less frequently.
How hot should an indoor searing grill be for steak?
Preheat fully on the higher setting to get the initial sear, then lower the heat to finish thicker cuts more evenly. Use an instant-read thermometer to confirm doneness and adjust timing based on steak thickness.
How can smoke be reduced when searing indoors?
Trim excess fat, pat food dry, use a small amount of high-smoke-point oil, and avoid sugary marinades at maximum heat. Strong ventilation (range hood or open window) also makes a noticeable difference.










Leave a comment